Tuesday 27 February 2018

DIY | QUICK CARDS with paper packs

Hello friends,

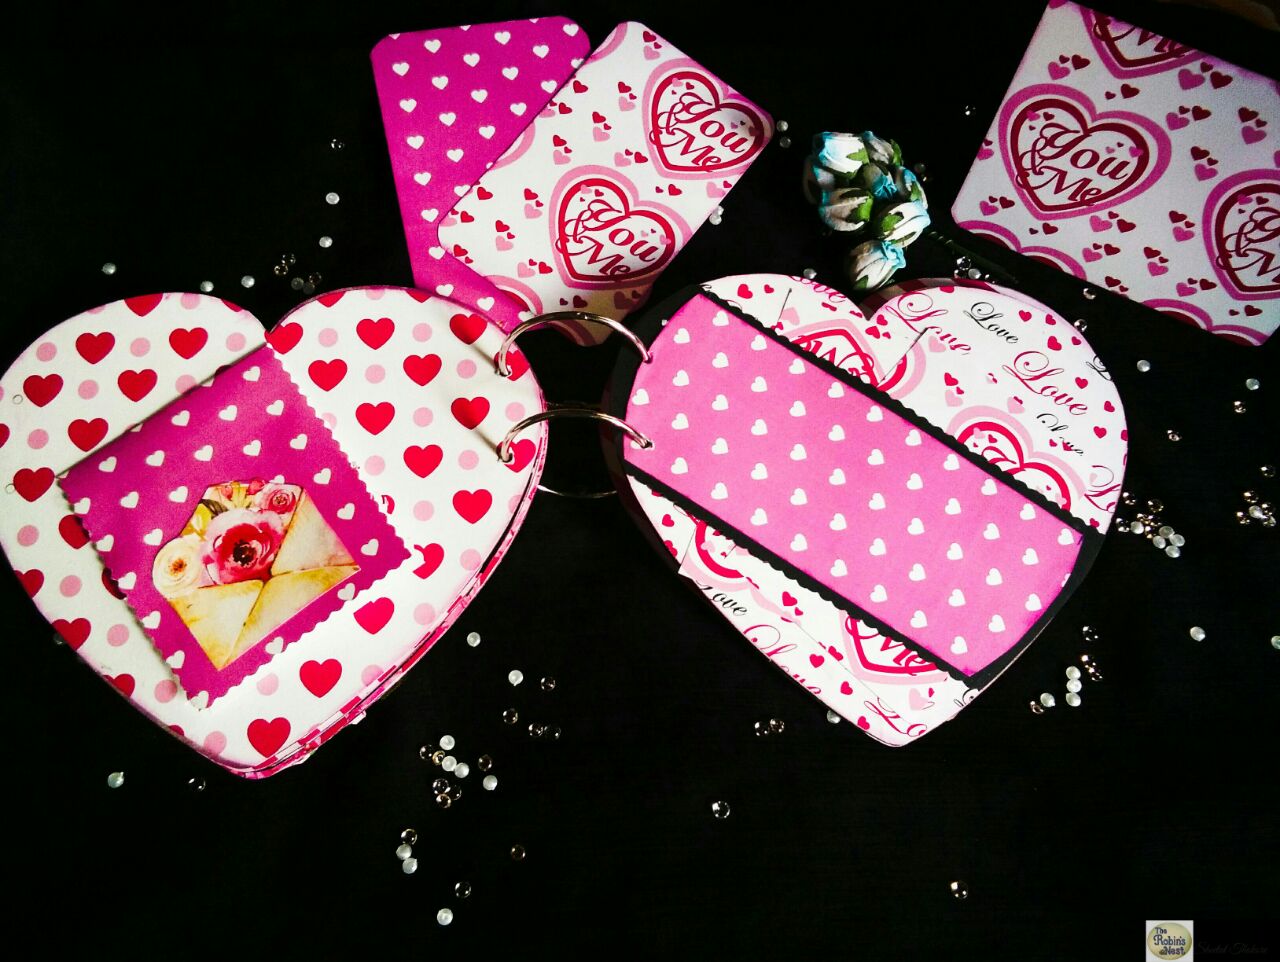
I am so glad to be on TECS blog today again,I have something so pretty,elegant and nice to show you all .I have made some quick cards with Paper pack from TECS...this paper pack is "Shabby Woods". Let me show you my cards first .


These four cards I actually made in a span of just 20 minutes,I personally feel we do not need any card making skills when we have beautiful paper packs from TECS. The patterns speak it all.
Below is the picture of paper pack used,THE JUNK DRAWER is the paper pack brand from TECS.


Now let me show you each card separately and closely. 


Each card looked complete and beautiful at the same time.I also have a video where I have explained the making of these cards.Do watch and leave love. Pls put your queries in comments section,Will answer asap.

These paper packs are available at the given link

Here is the video


Enjoy and keep crafting!!

Hugs,Anushree

Saturday 24 February 2018

Magazine Holder - Layered Decoupage Technique

Hello My Crafty Friends.......


This is Arpita here today,I want to share with u all a very easy and a fun project today.I was planning to do this technique for a while now and when i saw the raw base of this magazine holder,I knew this is what I wanted to do,so here it is.... layered decoupage technique on this beautiful magazine holder.Let me share some pictures and simultaneously share the steps on how I did.  


    Steps :
1. Prepare your base by sanding to get a smooth surface.

2. I painted the inside with a color coordinating to my tisssue.I prefer to do my paintings first so i dont have to worry of getting any paint on my work.

3. Next I covered the base with decoupaging some magazine sheets.

4.Choose a tissue you want to use, cut out the pattern from the tissue with wetting your brush a little,that way its easy to tear the tissue.

5 Once you have your tissue pattern.decoupage the tissue on to surface you have prepared.The script is see through the tissue print and its creates a very interesting look to your project..

6.Apply a coat of mod podge to seal your project and then give it a coat of varnish to protect your             work. Remember to give a gap of atleast 1-2 hours between each coat.

7. To add some interest and make it fun, I stuck a hand written sentiment and added a few embellishments.
           

     Now lets take a look at the completed project...


Material used :
Magazine Holder - The Element Craft Studio
Rest of the embelishments  like the charms,flowers and scallop mdf cut out for the sentiment is from my stash

  
Thank you for visiting
see you soon with another interesting project,till then.....
HAPPY CRAFTING!!!

Tuesday 20 February 2018

Follow ur Heart - An interactive album

  Hello folks,

Sheetal today on TECS blog...I am back on the TECS blog with a new and one of my favorite project.

 Glimpse of the project....followed by the materials used and instructions :)
                   
     
         Few more pictures from different angles


Pictures of different pages...


Materials used..
Cardstock black  250 GSM
Tacky tapes
Chipboard 1000 GSM
Paper pack from TECS
All the MDF embellishments from TECS
Rest embellishments from my stash

Instructions
I made a base book measuring 17 cm by 17 cm and pasted the pattern papers 
 On each page...I used various flaps and tried to make it interactive one..
The tags are from the pack itself...I used border punch to make the pages look more interactive.. I used 3D stickers...mullberry roses ..laces from my stash for the cover page. Hope you all liked it .

Here is the link where you can buy all the material for this lovely album
https://www.facebook.com/theelementcraftstudio/


                                                               Thankyou
                                                           Sheetal Thakore

Friday 16 February 2018

Name plate -- Vintage Peacock Style

Hello folks,
Anushree today on the blog,

I have a beautiful name plate to showcase today on the blog.This name plate is done completely from the products of  "THE ELEMENTS CRAFT STUDIO"...

Let me share the picture of the name plate first to jump on the material used and procedure later.


Sharing some close ups of the name plate now


Material used:
Raw name plate base from TECS
Pattern paper
Wooden peacock embellishment from TECS
Vintage side corner embellishment from TECS
Wooden alphabets for surname from TECS
Glossy accents
Crystal glitter
Prima blue and green acrylic colors
Archival ink- Majestic Violet
White embossing powder
Heat tool
Versamark ink
Inka gold


Instructions:
Take a raw name plate base and apply Gold inka color generously all over except the portion to be covered with pattern paper.Cut the pattern paper to fit size as desired.
Take the peacock embellishment and apply acrylic colors as per design, once that dries,apply Crystal Glitter.
For the corner wooden embellishment,just rub the archival ink keeping the vintage effect alive.
For the name,ink all alphabets with Versamark ink and put white embossing powder on it, shake off the extra powder and then heat set it with heat tool.
Adhere everything with clear glue or glossy accents.


Hope you have liked the name plate.Attaching the link of TECS where you can find all products
https://www.facebook.com/theelementcraftstudio/

Happy Crafting!!
Anushree

Sunday 11 February 2018

Love You to the moon..Chipboard Album

        Hello folks..Sheetal today on the blog,
        The season of valentine's is here now..
  Expressing love with memories is the special way and I tried to do it by making a chipoard love album by "THE ELEMENT CRAFT STUDIO".

Glimpse of my project 
             

Materials used:-

Chipboard love base from The element craft studio

Pattern paper from The Junk drawer
Black cardstock
Border punch
Distress ink for colouring the edges

I shaped and trimmed out the papers as per the size of my base and pasted on each side after distressing the edges.
                 

For the front page I applied gesso and used brick stencil to give some pattern.
I added roses and leaves and a couple die cut.

I added few interactive elements like pockets and tags in the inner pages of the album.Few more pictures of my project


                     Hope you all liked it.All material is available here https://www.facebook.com/theelementcraftstudio/

Happy crafting!!
                     SHEETAL THAKORE

                               Thankyou :)

Thursday 8 February 2018

Darling In The Heart


Hello peeps!!
This is shilpi here with a new post..
Valentine's is round the corner.. and I am here with a simple tutorial for u all.. it's a picture heavy post so grab ur cup of coffee n enjoy.. let's start

To start with I have three tags from the TECS


I have cut down a black chipboard as per the length n breath of the tags n pasted the tags upon it..


Further I have pasted two burlap strips on both the sides and with d help of a stencil applied modelling paste in between..


Then I have applied  gesso throughly and coloured it..


I have already fussy cut a few elements from the paper pack "Love is everywhere" from "the junk drawer".. I have pasted them.. applied a little sparkle,few pearls n small hearts..  and a cute little bow which perfectly coordinates with the colors of my canvas..


You can always add a pic to get a personalized touch to it.. So I hope this post helps u to make a handmade gift for your loved ones on this valentines.. attaching a few more pics of the canvas..


Keep crafting!! All material is available here https://www.facebook.com/theelementcraftstudio/

Thanks
Shilpi


Tuesday 6 February 2018

Valentines love cube box !!!

        Hello my dear lovely folks, Shreya here!! 

        A very warm welcome to all!

"The best love is the kind that awakens the soul and makes us reach for more, that plants a fire in our hearts and brings peace to our minds. And that's what you've given me. That's what I'd hoped to give you forever." 

Love is in the air!! It's Valentines coming and so here i am with yet another lovely creation themed on love. 
     This time I have designed a love cube box using TECS pattern paper collection " Hugs & Kisses " and Craftyscrappers "Be Mine" stamp to add to its beauty.

 The "Hugs & Kisses" paper pack gives a romantic feeling and addition of the Craftyscrappers stamp make it amazingly cute. This particular stamp set has become such a favourite of mine that i can't just stop using it.

I simply enjoyed making this !! Sharing some more pictures for the same.

D    Do not forget to get this amazing stamp set along with these beautiful papers to add to your   lovely craft room.           
       Hope you loved it as much as I do !! 
       Happy crafting !!
       Love @ Shreya

Saturday 3 February 2018

Love Tags

Hello friends,Jinal here

I am very happy to show you all my new project(love tags) for TECS....hope you all will like the creation. I made this using major material from TECS....

So lets start with the projects.... Firstly a picture of final tags


Material used :
Love is Everywhere papers 
Wooden tags
Fabric laces,paper border
Wooden embellishments 
Flowers...ribbons 
Clear gesso,embossing powder,versa mark.
Distress inks.
Glossy assent
Stencils.
Fevicol ,foam tape and marker

Procedure :

First select the paper of your choice. Mark the size of tag on the paper n cut accordingly. Stick it and then do distressing and stenciling with distress ink and clear Gesso..as shown in the picture... do the fussy cutting of the elements u want to highlight..distress the fussy cut  article...and highlight with glossy assent.


Stick the laces and border according to your wish...than assemble all the wooden chippis which you kept ready doing heat embossing.,...place it according to your choice...put foam tape on back of the fussy cut article and die cuts...and stick it with glue gun to give Three dimensional effect....your tags are almost ready just highlight with the markers if needed

Hope you like the tags I made.... would wait for your valuable comments and feed back....attaching close up pics...


Hugs!!
Jinal