Hi all crafty lovers. Anika here with another beautiful project for you all... Here I am presenting tutorial of Vintage style Tray having that Oldie Goldie rustic era charm---
All TECS trays are beautiful but this vintage rustic tray is my favorite. It was
really a great fun, working on this project. So, lets start our project
dearies. First here is the list of material we need for this project. TECS is
getting one stop crafting shop, most of the material is available only at TECS
itself---
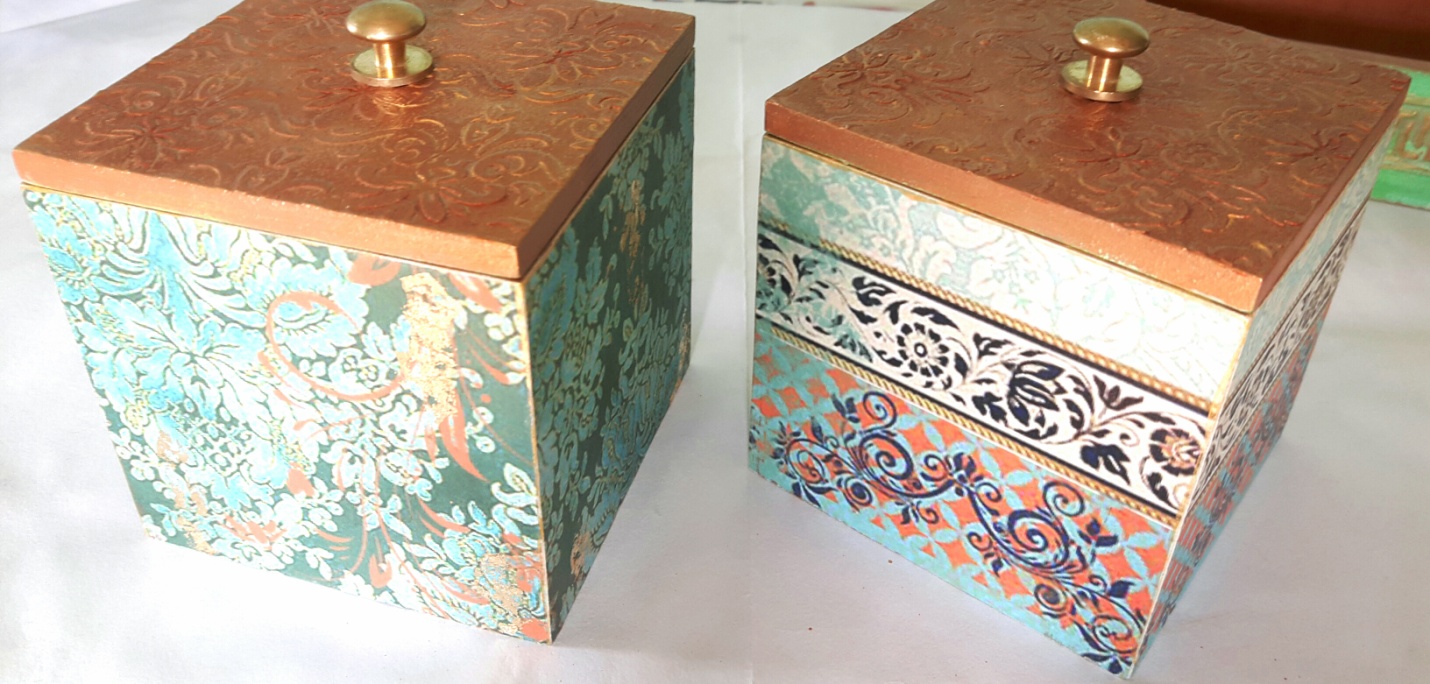
Vintage Tray
Golden Chalk Paint
Faded Teal Chalk Paint
Gunmetal Chalk Paint
Mod Podge Gold leaf Paper
Ball Chain
Epoxy Resin
Resin Charms
We
are starting our project by arranging our resin charm decoration pieces on the
tray. Try different ways to arrange your pieces and once you get satisfied with
your arrangement , paste them on the tray by using Mod Podge. I also used ball chain to give border finish on the
inner border of the tray.
Oops, forgot to remove the handles. No worries, now we can do
that. Remove the handles to keep them clean. Now, color the tray with AnRa
Crafts faded teal paint.
Give some brown color shades around the charms to
give them depth. Also, use your dry brush and give some strokes on the border
of the tray to highlight the beautiful cutwork of the tray. Its time to give
some shine to your tray , so use AnRa Crafts vintage golden chalk paint to give
some highlight.
Now, its time to decorate your tray with beautiful vintage
beauty. Oh, how to cut the paper in round shape. It was the question. So, I
used kitchen paper towel and mark that by putting on tray first and when I got
the perfect shape of the paper napkin, I used that to cut my decoupage paper in
perfect shape.Place your vintage beauty on the tray. At this time you can also
put back your handles or you can do it later.
Now,
use some gel medium to cover the surface of the tray. Paint the inner sides of the tray with brown color and spread that little with
cheese cloth. For gliding, I have used spouncer, put the modpodge on the plate
and pat the spouncer and do some strokes here and there on the plain side. When
you use spouncer you don’t need to wait and you can stick your gold leaf paper
at the same time. Now, wait for ten minutes and remove extra leaf paper with
brush.
And now its time for finishing touches. So, for
this project I have used epoxy resin to give a shiny look to my project. I
mixed up the resin and pour that in the tray. It takes 6-7 hours to get the
resin dry. And here is our final project.
Hope,
you all will like the project. Please feel free to message , if you have any
queries. Happy crafting dearies.