Showing posts with label Shabby Chic. Show all posts

Thursday, 23 May 2019

Sunny Roses on Jar

Hello crafty folks,

I am back again at TECS blog with my other inspirational project, recently TECS launched new Jute flowers. They are just amazing with so bright and fresh colours.

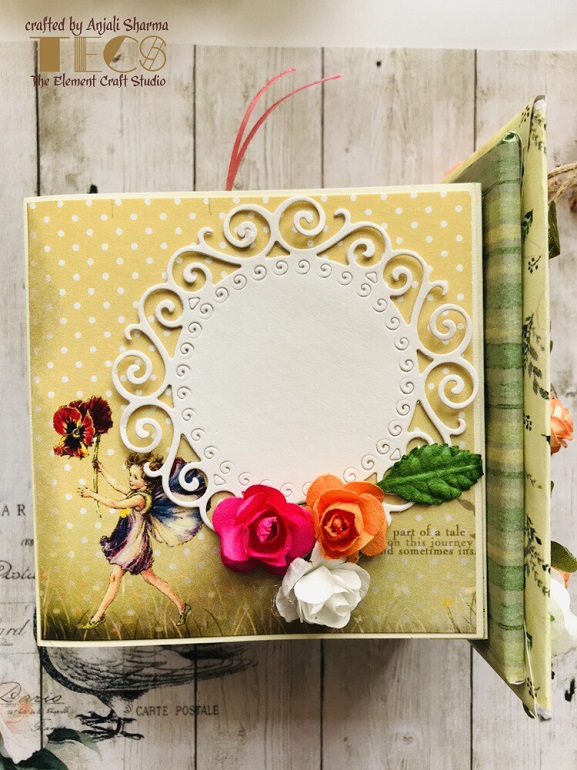
I received a beautiful Acrylic front Jar as my DT kit. I love to alter jars.


The materials used from TECS :
  1. Acrylic front Jar
  1. Rustic gold Decoupage paper 
  1. Juthe flower
  1. Wooden cutouts
  1. Chalk paint
Let's start the procedure to alter a Jar.

First, I gave a coat of chalk paint ( Rustic Russet ) to the entire jar. After that, covered 3 sides of jar and lid of the jar with Decoupage papers ( Rustic Gold ). Cut the papers according to the size of the Jar and glued it with Mod Podge. Added texture with modeling paste and color .


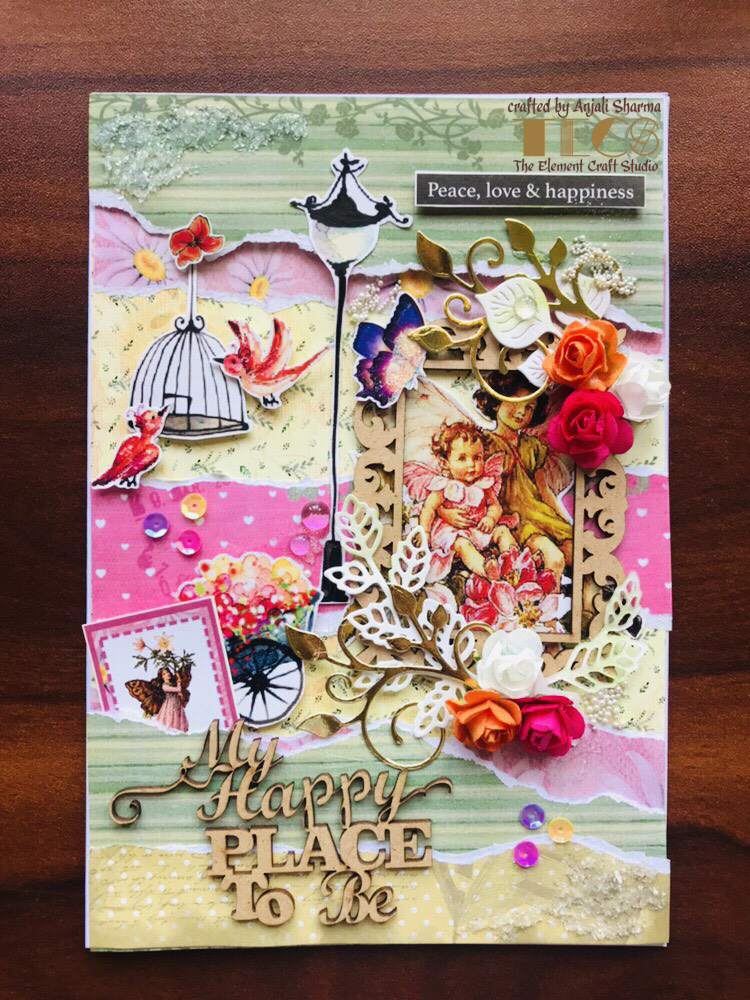
Second Step is to gather all embellishments to decor the Jar. I used TECS

different wooden cutouts. Arrange them roughly first and after that glued them with a hot glue gun. Now I added 3D stickers for more interest. And the step is to add different types of stones to create more depth. It's almost ready now, at the last I stuck Acrylic sheet with hot glue gun in front of the Jar.


It's ready ... Hope you guys love it !!!
Have a good day ...
Thank you,Vidhi Jadeja

Thursday, 25 April 2019

Fleur Fairy Album

Hi Crafty folks,

This is Anjali,
Creative designer @The Element Craft Studio and today am here with a cute little top box mini album I did using the beautiful fleur fairy papers.


Here are few close ups of the album-


I love all the elements of the paper pack.
I embellished  the album using the element sheet of the paper pack, some mdf frame, mulberry flowers, this beautiful leaf jute twine, metal legs and knob.
I love how this turned out.


Materials used-

- Fleur fairy paper pack
- Fleur fairy element sheet
- leaf jute twine
- mulberry roses
- metal legs
- metal knob 
- white and yellow card-stock for the base 


 Apart from these I used some leaf die cuts, some chipboard to finish the look of the album.

Not to forget I assembled the album using red 12mm tacky tape from the store and for the embellishments I used 3D foam tape, charms and sequins.

I hope you liked the project.
Do participate in the ongoing challenge to win amazing goodies.
Share your valuable feedback in the comments section.
Thanks for passing by!!!

Regards


Tuesday, 16 April 2019

Love Fairy Card

Hi Crafty folks,

This is Anjali, Creative designer@ The Element Craft Studio and today am here with a shabby chic card I made using supplies from the store.


Materials used-

- 250gsm white cardstock for the base
- Fleur fairy paper pack and coordinating cardstock

Some leaves die cuts,water droplets and sequins to finish the embellished card.


I have simply teared the pages to give shabby look and added them using 3D foam tape and also the elements of the paper pack are used with the foam tape.

All the elements are from the store.
I added these small mulberry roses as they go very well with the colours of the card.


I hope you liked the project.
Do participate in the monthly challenge to win some amazing goodies.
Share your feedback in the comments section.


Thanks for passing by!!!

Regards
Anjali Sharma 

Monday, 8 April 2019

Reading with Roses --- Shabby Bookmarks

Hello Craft People 🙂

Manasa Priya here with a quick DIY inspiration for this month's blog challenge at TECH - anything goes shabby chic using atleast one element from the Element Craft Studio.


So, as you all know I love shabby Chic style and using distressing with flowers and the likes.


That has what has inspired me to create these quick bookmarks.


Do I have taken the MDF bookmarks from the store and decoupage them with the fairyland scrapbook paper. It is full of beautiful quotes, sonnets, little fairies and I really love the prints. And it's got beautiful coordinating element sheet as well.. Which we can fussy cut.


Then I added washi tapes in the empty spaces and distressed the edges and stamped randomly to make the background a little busy. 


 And I assembled all the elements using some foam tape to give it a dimension. Now comes the star of the show, the beautiful flowers.. These are the newly launched paper flowers from RECS. Look at those pretty colors 😍 these are super cute and goes well with any projects


I finally finished it off by adding some embellishments and stickers and ties laces over the top. 


I hope you enjoyed looking into this project ☺ please do participate in the monthly challenge to win some amazing prizes. 

Until next time.. ❤

Here is the list of all products used in this project---


Monday, 1 April 2019

Summer's Shabby Moon

Hello April ☺

Welcome to the bright and colorful summers . This is the season of holidays and thus a lot of travel and outdoors.

This month at The Element Craft Studio is about Summers in Shabby Chic style. Do participate in this months challenge, using any TECS products and win some cool prizes.


So, this is my take on this month's challenge for you to get inspired.

A shabby chic moon shadow box with the quote Live love laugh. I included some travel charms to go with my decor. Material used from TECS:---


So, to get started.. I have taken this beautiful base and stenciled and added texture on top to give it some dimension.


Later I painted it in the yellow colors. These are the beautiful shades of newly launched chalk paints from Anra Crafts, the sister concern of TECS. The chalk paints are if great pigmentation and coverage. These are really buttery...


Now I have taken the decoupage paper with these beautiful flower bunch and fussy cut and embossed them to add it to the frame.


Later I took these sentiment with arrow chipboard and added the beautiful shimmers in the colors pink and green.. So it is all blended together.


Now in the empty spaces I added some metal embellishments and fussy cut travel theme pictures to go with the theme.


I hope you enjoyed looking into this beautiful and bright shabby chic shadow frame. 


Please let me know how you like this project in the comments below.


Please do take part in this challenge and share them with us over the blog or over the Facebook group.


Until next time..  ❤ Happy Crafting!!!